This framing calculator will calculate the minimum number of studs, top and bottom plates, and sheets of plywood needed to build a stick-framed wall.
To calculate the weight of the lumber, use the lumber weight calculator. If you are interested in calculating the R-value of a wall assembly, check out the wall R-value calculator.
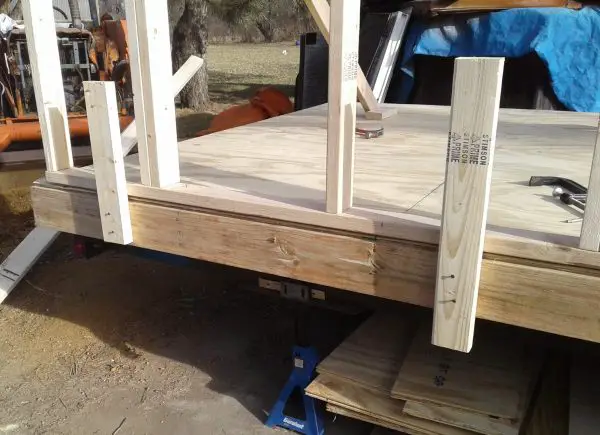
I highly recommend a framing nail gun to make framing go a lot quicker. I’ve used this model on a wood fence I built (see fence calculator here) as well and it has really provided me with a lot of bang for the buck.
FRAMING CALCULATOR
This calculator assumes that the wall being built is:
- A single story exterior wall
- Continuously sheathed
- Has sheathing that extends from 1″ below bottom of sill plate to top of top plate
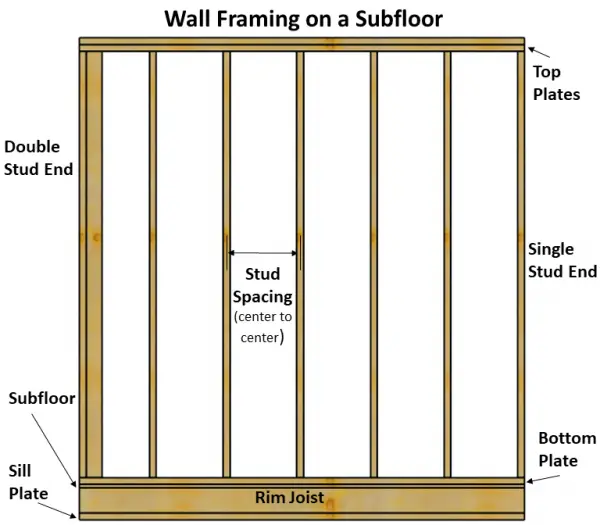
Wall Framing Components
The image below shows some of the components of a typical wall framed on a subfloor as well as two different types of corners used for the ends of the wall:

How to Use this Calculator
First, figure out what you want to calculate and check the appropriate box.
Subfloor/Slab
If calculating sheathing, choose whether your wall is on a subfloor or slab. More sheathing will be needed if the wall is built on a subfloor; this is so the rim joist can be properly tied to the wall.
End of Wall Studs
Next, figure out the stud configuration at the ends of the wall. Different stud corner configurations are shown in the image below.
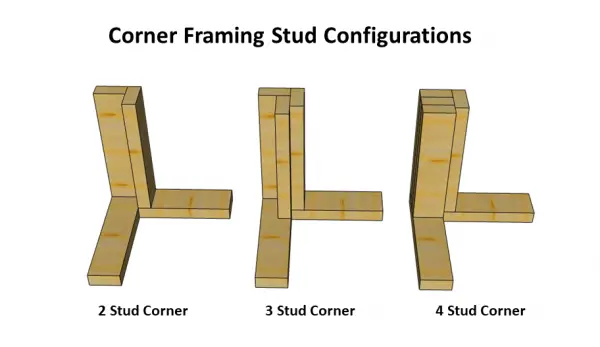
Traditionally, three and four stud corners were used (one wall with one end stud and the intersecting wall with two or three end studs). These corners are very robust but are hard to properly insulate and can be considered overkill in terms of strength.
With advanced framing, each wall only has one end stud. This creates a two stud corner. These corners are easier to insulate. The drawback is that it makes it difficult to fasten drywall in the corners. However, by using drywall clips this problem can be mitigated.
Wall Dimensions
Next, enter the length and height of the wall into the framing calculator. The wall height is measured from the top of the slab or subfloor to the top of the top plate.
Stud Spacing
Studs are usually spaced at 16″ (traditional framing) or 24″ (advanced framing).
Rim Joist Width
Enter the width of the rim joist here. This is needed since the sheathing covers the rim joist and ties the wall together. Typically, rim joists are either 5.5″ (2×6), 7.25″ (2×8), 9.25″ (2×10), or 11.25″ (2×12) wide.
Subfloor Thickness
Enter the thickness of the subfloor. This is commonly 3/4″ when using 3/4″ plywood.
Stud Width
Enter the width of the studs here to properly calculate the amount of board feet. Usually, 3.5″ (2×4) or 5.5″ (2×6) should be used.
Framing Tips and Tricks
Framing
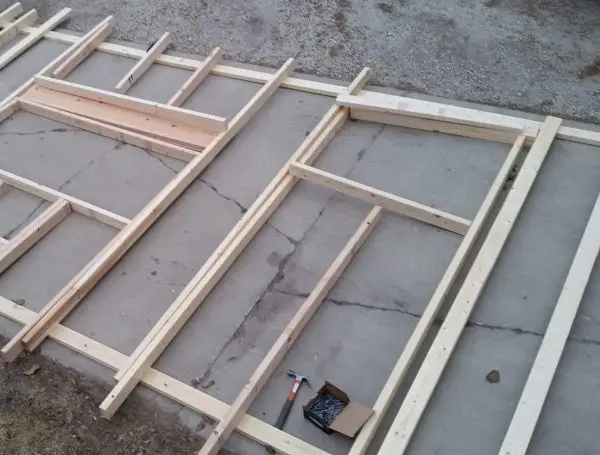
- Lay out the studs, headers, cripples, and top/bottom plates on a flat surface and nail together before standing up
- Make sure to lay out the studs with crowns (side to side bend) facing the same way, usually upward when nailing the wall together on floor
- Use the built in marks on a tape measure to mark out locations of studs on center on the bottom plate
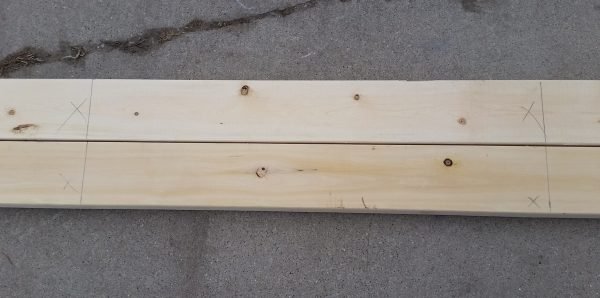
- Transfer layout marks from the bottom plate to the top plate by laying side by side so you don’t have to measure twice
- Snap chalk lines on the floor where the wall will go before standing up
- Nail blocking to outside of rim joists so walls don’t slide off floor when raising
- Top plates should overlap at corners and intersections
- Install blocking before closing in walls for TV wall mounts, toilet paper holders, and anything else that may need to be fastened to a wall where there is no stud
- Blunt the tips of nails with a hammer if you are worried about splitting (i.e. toenails)
Sheathing
- Sheathing can be installed before or after standing walls, but if wall is long it may be difficult to lift if sheathing is already in place
- Snap a line on studs before installing sheathing for the straightest installation
- Stagger sheathing so that seams don’t line up on adjacent sheets for added strength
- Leave an 1/8″ gap (width of a nail) between sheets of plywood to allow for expansion/contraction
FAQ
How are “on-center” studs measured out?
When walls are framed the studs are usually laid out “on centers,” usually 16″ or 24″. For the most part, this is referring to the distance between the centers of the studs.
However, for the first and second studs in the wall this refers to the distance from the outside of the first stud to the center of the second stud. So in a 16″ on center wall, the distance between the centers of the first and second studs would actually be 15.25″. In a 24″ on center wall the distance between the centers of the first and second studs would be 23.25″.
Get yourself a laser tape measure combo like this one to make things a lot easier when laying out studs.
The reason the studs are laid out like I explained above is so that the edges of sheets of plywood sheathing/drywall (usually 4 feet by 8 feet) will land on the center of a stud. The second sheet put up will then start on the middle of a stud and end at the middle of stud. This allows for the sheet to have something behind it to be nailed to.
If the first and second studs were actually 16″ from center to center, for example, the far edge of the first sheet of plywood/drywall would end without a stud behind it to be nailed to. The framing calculator above takes this into account when calculating the number of studs.
What kinds of nails should I use?
3.5″ 16d (aka 16 “penny”) nails are typically used for framing walls. When 2 studs are sandwiched together and face nailed, 3″ 10d nails can be used. Such would be the case when nailing two top plates together. Framing nails shouldn’t be galvanized but should be zinc-plated.
Can screws be used instead of nails to frame a wall?
No. While screws have great pull-out strength, they do not have adequate shear strength like nails do. Nails also tend to bend before they break, whereas screws will snap without warning when faced with too much shear stress.
Should I use double bottom plates as well?
In most scenarios a single bottom plate will suffice. There may be special cases where a double bottom plate would be advantageous, however. Having a thick finished floor would be one example where a double bottom plate could be used to allow more surface area for drywall to be screwed into.
Framing a wall can be a simple job by following a few best practices. For more great framing tips, check out Family Handyman’s framing tips article.